KYOCERA Document Solutions


KYOCERA Document SolutionsSolution Support Page
| Q | I received an activation email. How can I activate my account and set a password? |
| A |
When the user is added, an activation email is sent to the registered email address. Click Activate now in the email within seven days of receiving the email. |
Steps to activate your account:
- Click Activate now in the email within seven days of receiving the email.
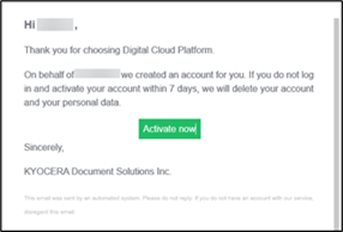
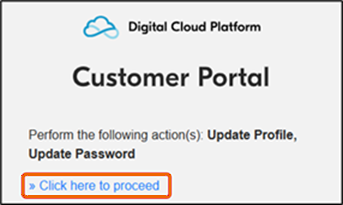
* If the activation process is not completed within seven days, your account is deleted. For organization representative account, you will have to request a new account from your provider. For user account, you will have to request a new account from your administrator. - The browser window opens. Click Click here to proceed.
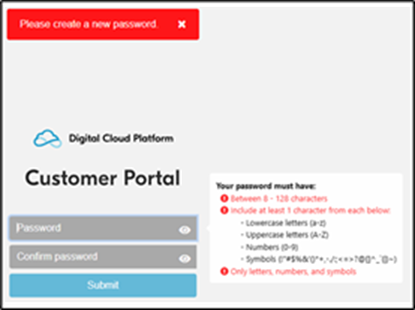
- Password setting screen appears. Follow the instructions on the screen to set the password and click Submit.
- The user profile setting screen appears. Enter the information as shown on the screen. The Username and Password are used to log in.
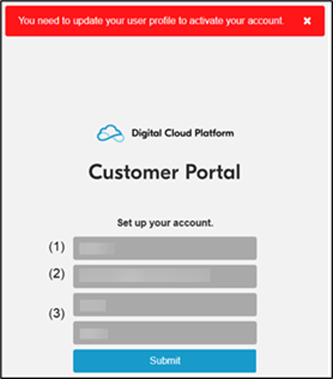
(1) Username (Between 4 - 64 characters)
Username to use for login.(2) Email address
* The initial value is displayed as the username, but you can change it as you like. Note that the registered username and the following symbols cannot be used:
\ / : , ; * ? " < > | [ ] { } $ % ` & ( ) + = ! # ' ~ ^
The Email address from step 1 is automatically displayed.(3) First name/Last name (Between 1 - 64 characters)
* You can only create one account per email address.
Displays first name and last name in that order.
* The following symbols cannot be used:
\ / ; * ? " < > | [ ] { } $ % & ( ) = ! # ~ ^
- When the following screen appears, your account information is updated and your account activation is complete.
Clicking Back to Application will take you to the login screen of the Customer Portal.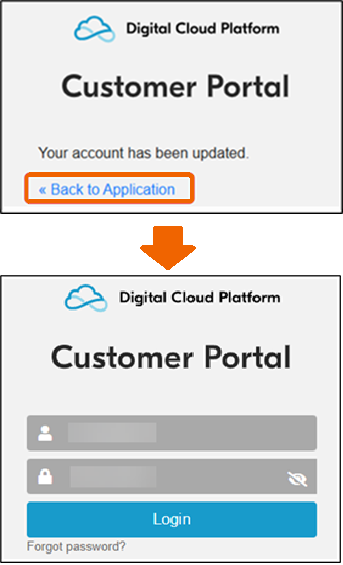
* If you bookmark this login screen in your browser, you will have easier access to the Customer Portal next time. - After logging in, the following screen appears. Click on the Terms of Use and Privacy Statement (separate windows will open).
After reviewing the content, check the accept check box and click OK.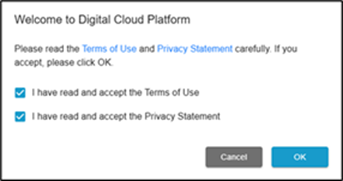
- Then, the following screen appears. Click on the End User License Agreement and Privacy Statement (separate windows will open).
After reviewing the content, check the accept check box and click OK.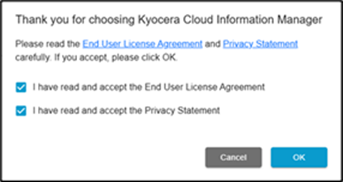
- When you log in, the Applications screen opens. Click Launch App of Kyocera Cloud Information Manager.
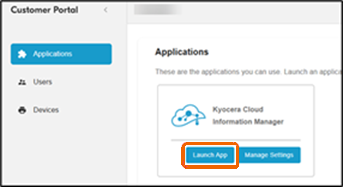
- Kyocera Cloud Information Manager opens.
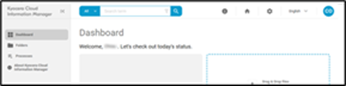
* If you bookmark this Kyocera Cloud Information Manager web portal screen in your browser, you will be able to access directly next time.


